The lavatory is among the most regularly used areas in our houses, and it is also one which requires common cleansing to keep up hygiene and aesthetics. Shower and tub areas, particularly, might be difficult to maintain clear because of the fixed publicity to cleaning soap scum, mineral deposits, and grime. Whereas there are quite a few industrial toilet cleaners accessible, you’ll be able to simply make an efficient DIY shower and tub cleaner utilizing frequent family elements. Here is a easy recipe that may enable you hold your toilet glowing with out harsh chemical substances.
Components You may Want:
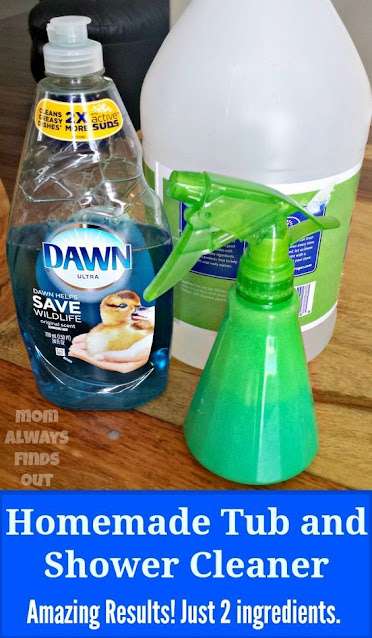
- White Vinegar: Identified for its cleansing and disinfecting properties, white vinegar is a staple in lots of DIY cleansing recipes.
- Dish Cleaning soap: Use a gentle, grease-cutting dish cleaning soap. This may assist take away cleaning soap scum and physique oils.
- Baking Soda: This versatile ingredient acts as a mild abrasive, serving to to wash away stains and buildup.
- An Empty Spray Bottle: A reusable spray bottle is eco-friendly and handy for making use of the cleaner.
DIY Shower and Tub Cleaner Recipe:
Step 1: Put together Your Spray Bottle
Begin by totally cleansing and rinsing an empty spray bottle. It is important to make use of a clear bottle to forestall any residue or contaminants from affecting your home made cleaner.
Step 2: Mix the Components
In your empty spray bottle, mix the next elements:
- 1 cup of white vinegar
- 1/4 cup of dish cleaning soap
- 1/4 cup of baking soda
Step 3: Combine Effectively
Screw the spray bottle’s cap again on and gently shake the combination to make sure all of the elements are nicely mixed. The baking soda may fizz initially, however that is regular.
Step 4: Software and Cleansing
Here is tips on how to use your DIY shower and tub cleaner successfully:
- Prep the Space: Earlier than making use of the cleaner, rinse the shower or tub with heat water to take away unfastened grime and cleaning soap residue.
- Spray the Cleaner: Liberally spray the home made cleaner onto the floor you need to clear. Be certain that it covers areas with cleaning soap scum, stains, or buildup.
- Let It Sit: Permit the cleaner to sit down for about 10-Quarter-hour. This dwell time permits the elements to work their magic and break down grime.
- Scrub: Utilizing a scrub brush or sponge, gently scrub the floor in a round movement. The baking soda will present gentle abrasiveness to assist take away stains and buildup. Give attention to hassle spots.
- Rinse Completely: Rinse the whole space with heat water to take away the cleaner and any loosened particles. Make sure to rinse totally to forestall any slippery residue.
- Dry and Admire: After rinsing, dry the realm with a clear, dry material or towel. Step again and admire your glowing clear shower or tub!
Extra Ideas:
- For cussed stains or grout discoloration, you can also make a paste utilizing baking soda and water. Apply the paste, let it sit for a couple of minutes, and scrub it away.
- This DIY cleaner is appropriate for many forms of shower and tub surfaces, together with fiberglass, acrylic, porcelain, and tile. Nevertheless, at all times take a look at a small, inconspicuous space first to make sure compatibility.
- To keep up a cleaner toilet, contemplate wiping down surfaces after every use to forestall the buildup of cleaning soap scum and mineral deposits.
By making your individual DIY shower and tub cleaner, you not solely get monetary savings but additionally scale back your publicity to harsh chemical substances. Plus, it is an efficient and eco-friendly approach to hold your toilet trying its greatest. So, roll up your sleeves, combine up a batch, and get pleasure from a sparkling-clean toilet!